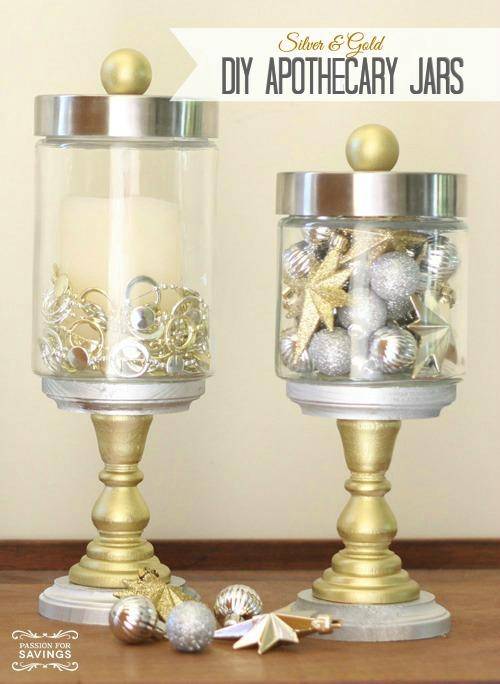
Have you started thinking about Christmas yet? It seems crazy that its right around the corner. I’ve been pulling out my Christmas decorations to see what I need to throw out or update. I have always been traditional when it comes to Christmas colors usually going with red and white. But I thought I would add a touch of fancy to my decor this year with a little silver & gold. These DIY apothecary jars were easy to make and add the perfect touch of “fancy” to my decorations.
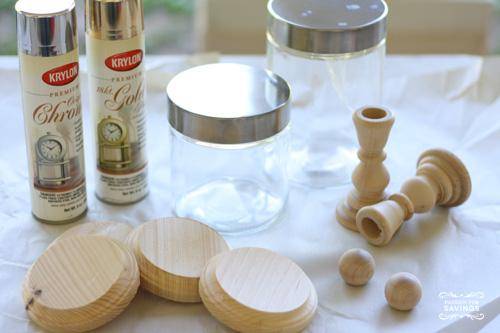
Here are the supplies you will need to make these DIY apothecary jars. Everything but the candlesticks were purchased at Hobby Lobby. The candlesticks were found on line.
Silver & gold spray paint, glass jars, round wooden knobs, candlesticks, wooden circle plaques with a bevel side.
First thing to do is spray paint the wooden pieces. I decided to do a combination of silver and gold with my jars. If you wanted to use a different color like black or white, I would paint the lid of the jar too. I didn’t paint the lid since I was using silver. You will paint on the tops of the wooden plaques and also paint the backs of at least 2 of them.
Once all the pieces are dry, it’s time to assemble the apothecary jars. I used E6000 adhesive for this part. Add some adhesive to the bottom of the candlesticks and set them onto the bevel side of the wood plaque. This could be one of the plaques that wasn’t painted on the bottom. Make sure and center it as best you can. Let that dry for a bit. If you don’t, the adhesive isn’t set and the candlestick will move as you try to do the next step.
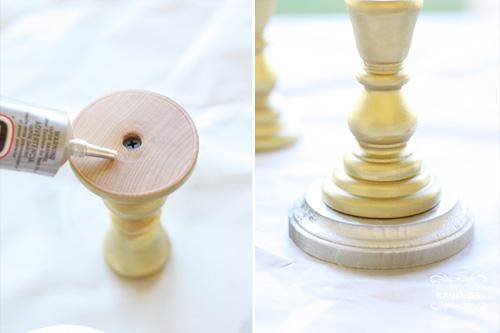
Once the bottom is secure and not moving around, add some adhesive to the top of the candlestick. Then place that down onto the bevel side of another wood plaque. See the picture below. Make sure you place it on the correct side. You want both flat edges on the outside of your candlestick stand. Make sure the flat side is painted because you will see that side through the bottom of the jar.
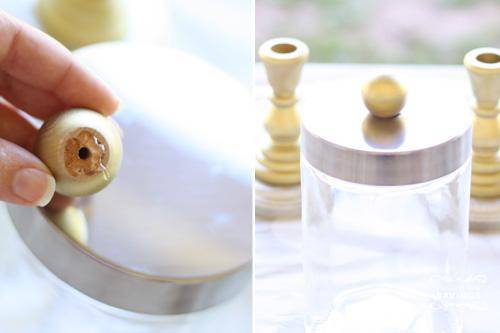
Put a little adhesive onto the bottom of the wooden knob and set it in the middle of the jar lid. These jars actually have screw top lids so the knob should be fine with just the adhesive. It’s for looks, not function. :)
Give everything a little time to dry before setting the jar. Once you’re ready, ad a line of adhesive all around the edge of the wooden plaque and then set the jar on top. Center it as best you can and let it dry overnight.
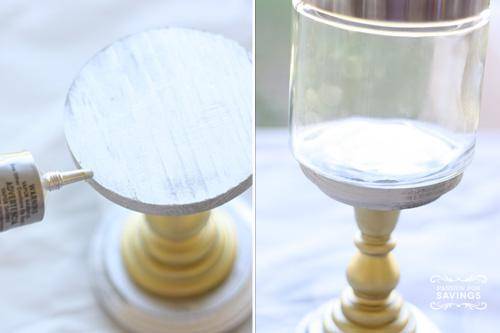
Now comes the fun part. Filling the jars with beautiful things!
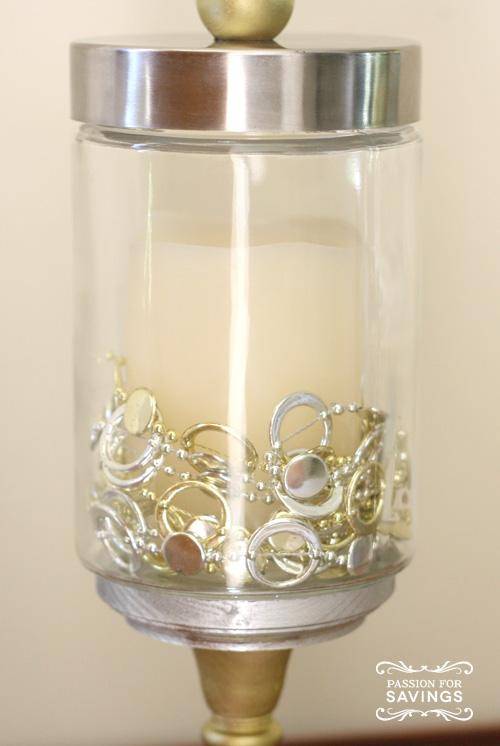
I used mixtures of silver and gold ornaments and tree decorations as my filler. I also added one of those flame less candles to the taller one. Thinking it will look really cool all lit up in there at night.
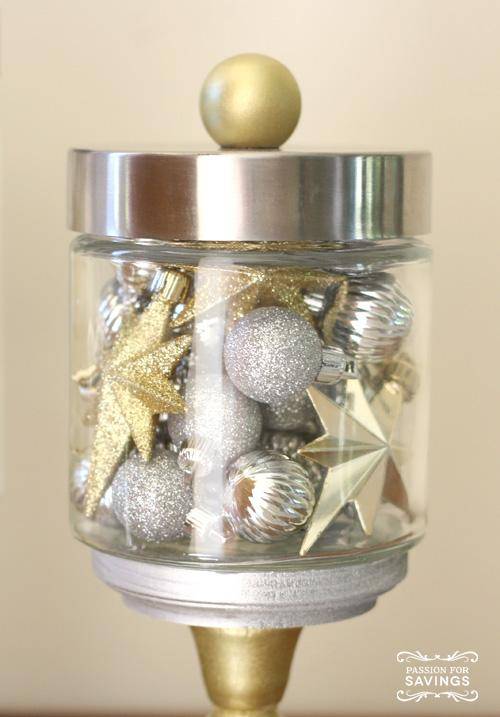
These DIY apothecary jars will look great on an entry table, mantle, food table or just anywhere you need a little sparkle.
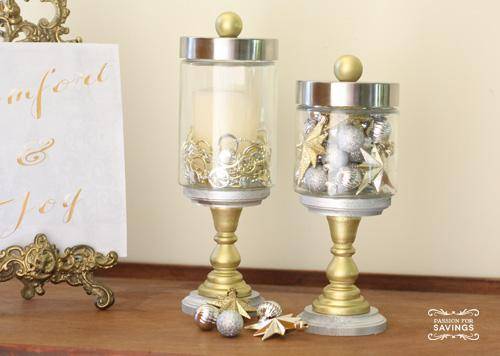
And like I mentioned before, you could use any color and they would be great year round too.
Happy Crafting!

