It’s officially FALL!! I guess that means I don’t have to feel so guilty for already having all my fall decorations out right?! I really wanted to get in the spirit of fall and especially Thanksgiving. I wanted to add something to my decorations that would remind me the reason for Thanksgiving. I decided to make this give thanks sign and it was really easy and is just what I was looking for.

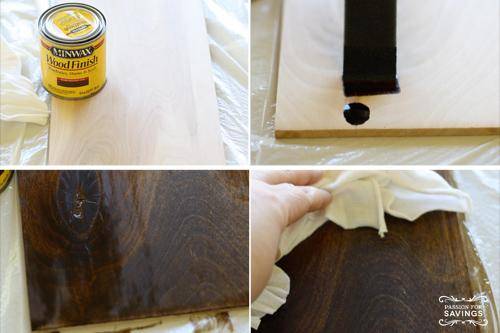
I started with a piece of wood. My wood board is about 7″ by 23″. I happened to come across this piece in my garage, but you could go to any hardware store that sells lumber, pick out a piece of wood and have them cut it down for you. I used some wood stain in dark walnut and put it on my board using a foam brush. I did long strokes of stain to cover about half the board and then I used a soft cloth to remove any excess stain. Then I did the other half of the board.
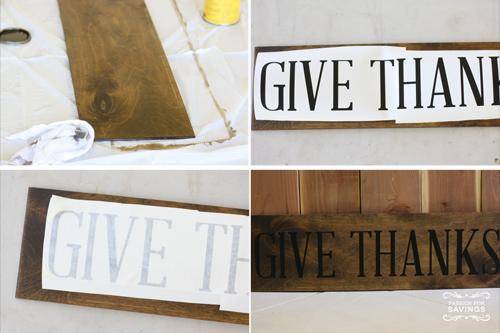
Once my board was all stained, I gave it an hour or two to dry. While it was drying, I opened up my cutting machine program and designed my Give Thanks words. I let my cutting machine cut the letters out of some vinyl I already had. If you don’t have vinyl you could always use contact paper for a stencil if you didn’t have vinyl, or cut out letters by hand. Once they were cut, I removed the outside vinyl, making sure I only had the letters on my paper. Then I covered my letters with transfer tape. I removed the back paper, so the fronts of the letters were now attached to the transfer tape, and placed the words onto my board. Use a credit card and rub on top of the words so they will stick to the board. Then remove the transfer tape. Your vinyl letters are now on the board.
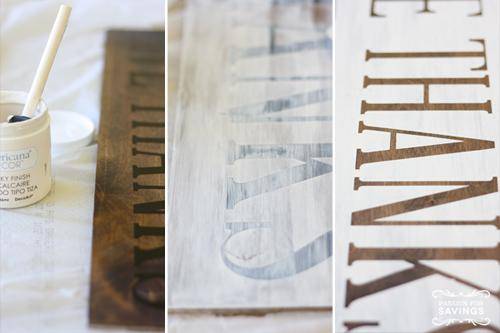
I didn’t want to use the vinyl letters for my finished sign, which is a good thing because the black letters were too dark. I then took some creme paint and painted over the entire surface of my board. I did 2 light coats and before it was dry, I removed my vinyl letters.
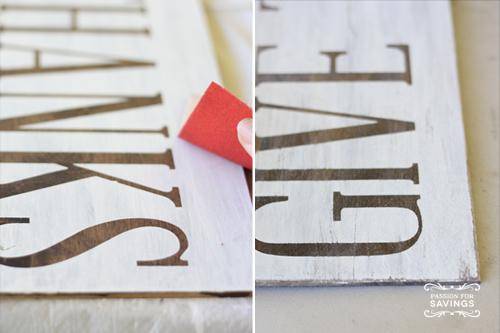
I took some sand paper to distress the edges and give my sign a more weathered look. I just roughed it up with the sand paper until I liked the look. Start small with the sanding, you can always add more scuffs and scraps.
Once it was all sanded, I used a dry cloth to wipe it down and remove all the saw dust from the sand paper. I then sprayed it with a sealer, just to protect it in case I want to put it outside.
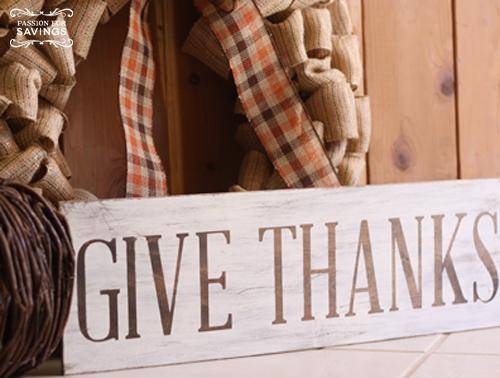
I just put it together with some of my other fall decorations like my fall harvest wreath, and it’s just perfect! I love the constant remind.
Happy Crafting!