If you are looking for Fun Easter Egg Dying Ideas then check out all the details on How to Dye Easter Eggs Using Rubber Cement!

If you are looking for fun new ways to Dye Easter Eggs this year, then this is for you! I’ve been learning How to Dye Easter Eggs using Rubber Cement and it’s PERFECT for older kids who want to go a step beyond just using one color.
My kids and I had so much fun creating these Rubber Cement Dyed Easter Eggs, I love the Swirled pattern and designs! Plus every egg is unique, no 2 eggs are alike!
How to Dye Easter Eggs Using Rubber Cement

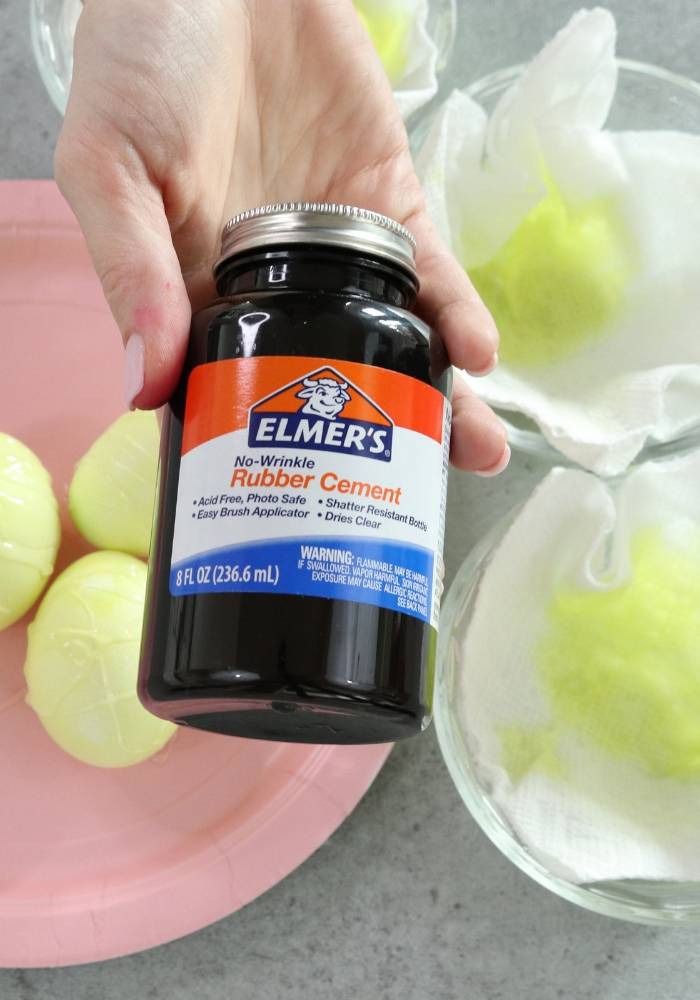
The first thing you need is a bottle of Elmer’s Rubber Cement, You can get this on Amazon or at Walmart! It should be pretty easy to find in the craft department or in the office supplies. It was in the Office Supplies with the Elmers Glue in my store.
You will also need some Homemade Easter Egg Dyes. I have a Homemade Easter Egg Dye Recipe that’s really simple and only involves Hot Water, Vinegar and Food Coloring (Which is pretty much what all Egg Dyes include) It’s really simple to make so there’s no need to buy any extra kits!

Before you get started you’ll also need Hard Boiled Eggs! I use the Instant Pot to Boil Eggs and it works great! But you can also use the Traditional Stove Top Method.
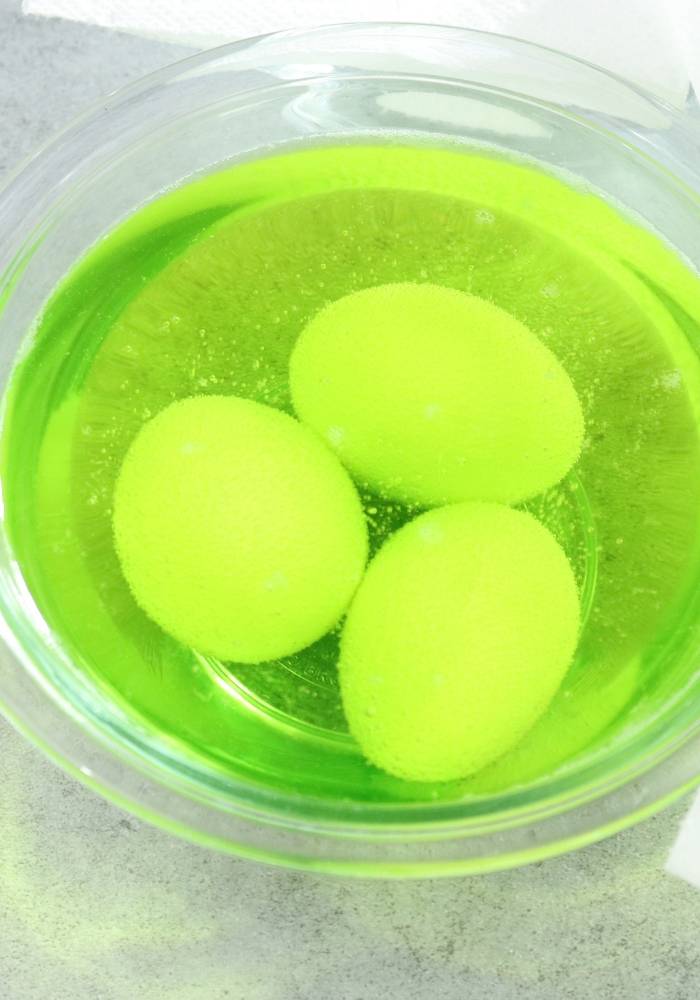
After you’ve boiled your eggs and allowed them to cool to room temperature you will want to first start by dying your eggs the Lighter Color first!
This is a really important step, because you’re making 2 toned eggs (or even 3 toned eggs) You always want to work from the lightest color to the darkest so you don’t mix your dyes too much. The Dark Dye will be fine when you put the lighter color in it, but if you add a darker color to a lighter dye you’ll start to see the color changing slightly.

Remove the eggs from the Lighter Color Dye and allow to dry, or pat dry with a paper towel.
Place the Eggs on a Paper Plate and drizzle with Rubber Cement. You will need to do one side, and allow that side to dry about 10-15 minutes. Then flip the eggs over and do the other side. Because of this process it can take a little longer to dye eggs which is why I recommend this method for older kids and teens who have the patience to see the process through.

Once the rubber cement is dry or sticky, you can place the eggs in the darker color of dye. The eggs will stay the lighter color where the Rubber Cement is, and the rest of the egg will dye the darker color creating a swirl and marbleized effect!

Have you ever tried using Rubber Cement to Dye Easter Eggs? If you give this method a try come back and leave a comment and let us know how it went!


