 One of the things I have been obsessed with lately are these adorable Etsy Fabric Banners used to decorate for Birthday Parties and Holidays! Every time I would see one I would think, I could make that SO EASY and I finally got around to making one. The best part it was super easy and only took a few minutes so I thought I would share the simple step by step with you.
How to Make a Fabric Banner

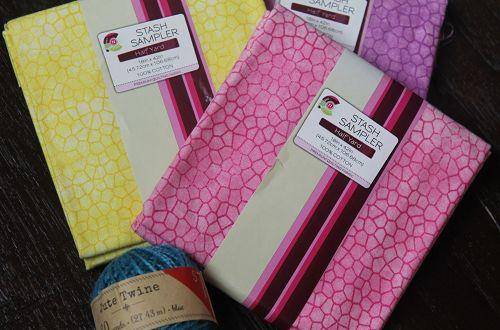
Here are the supplies I used to make this fabric banner. I grabbed 3 different color of the Fabric Samplers at Walmart, these are each about a half a yard

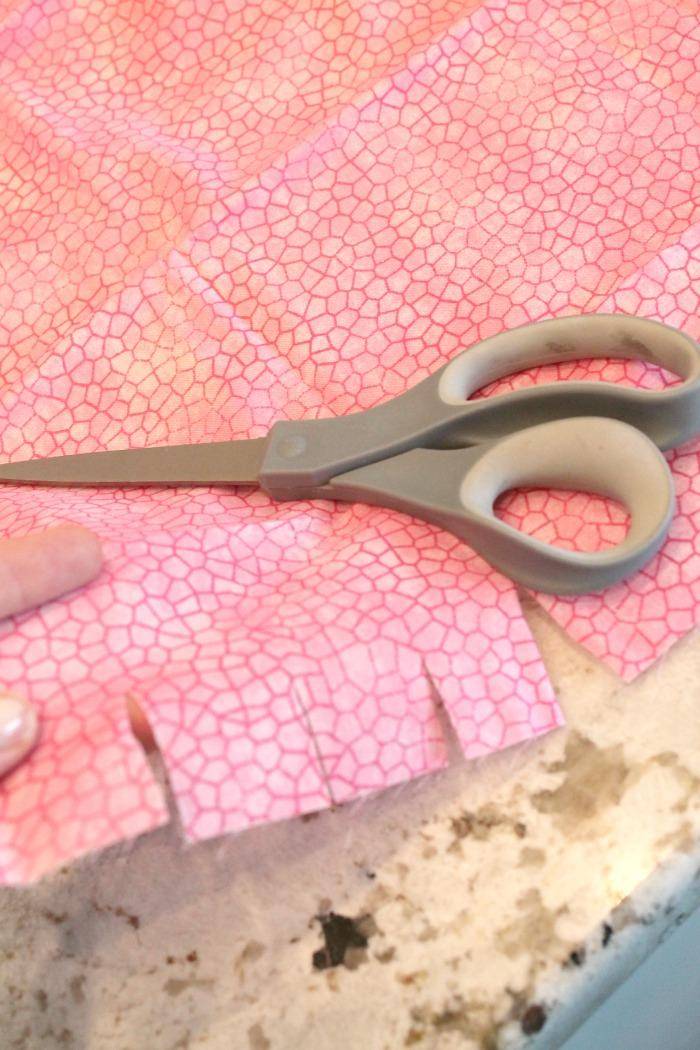
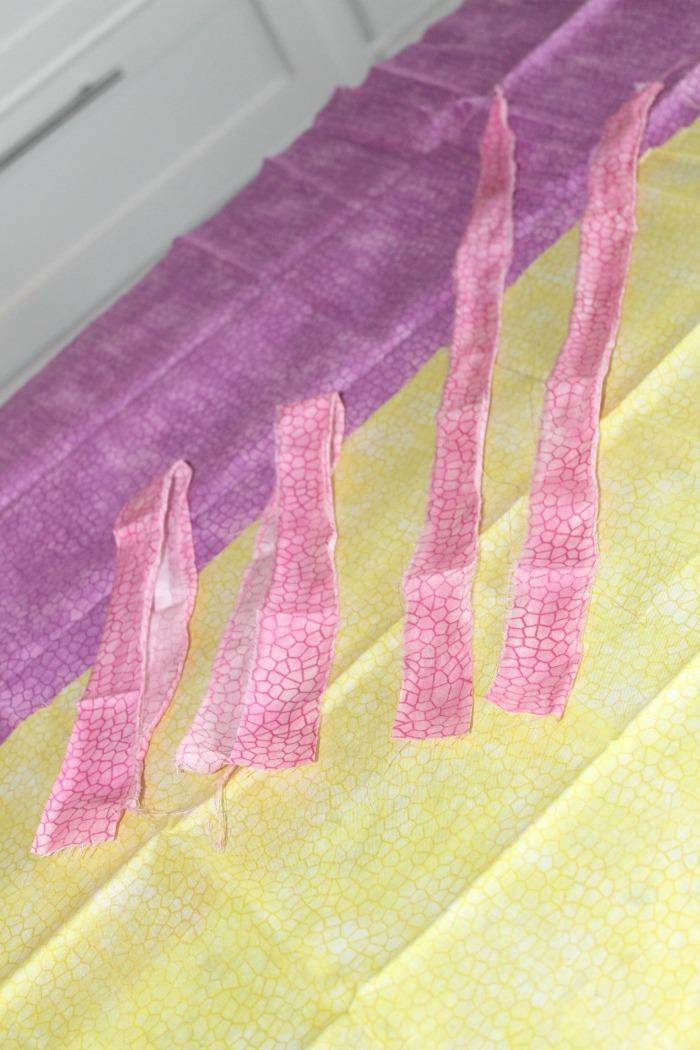
Cut the fabric into 1 1/2″ Strips and tear. If you make a small cut about 1″ Then you should be able to easily tear the fabric into strips without worrying about cutting the strips straight. You could also use a Fabric Cutter if you have one and cut this into strips quickly.

I made about 20 1 1/2″ Strips in each color for a total of about 60 strips. You can vary this depending on how much length you need, you may need more strips. I only used about half of the fabric I bought for my Fireplace banner, so you could easily use all the fabric for a longer banner.

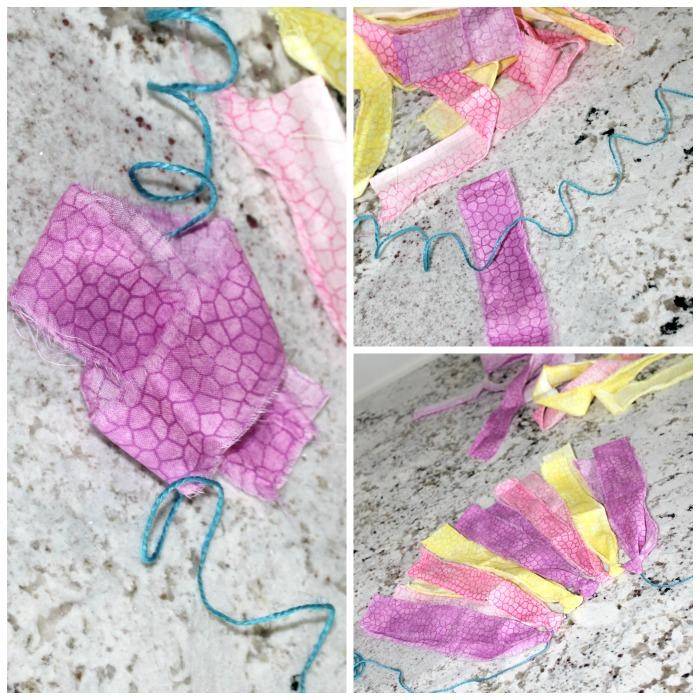
Once you have all your strips you’re ready to add them to your twine. Take each strip and fold it in half. Lay the fabric under the string, then Fold up and through the loop. Pull tight and continue layering on all the strips until you get the length you desire.

That’s it! It’s so simple to make, you can attach using Painters Tape if you’re worried about the surface where you’re attaching the banner. Also, for holidays like Easter or Christmas these would be fun backgrounds for photos, etc.
Make sure you check out our Saving Money Blog and also our How to Coupon Page for more tips, tricks and videos on saving money and using coupons.
Make sure you Follow Me on Pinterest!

