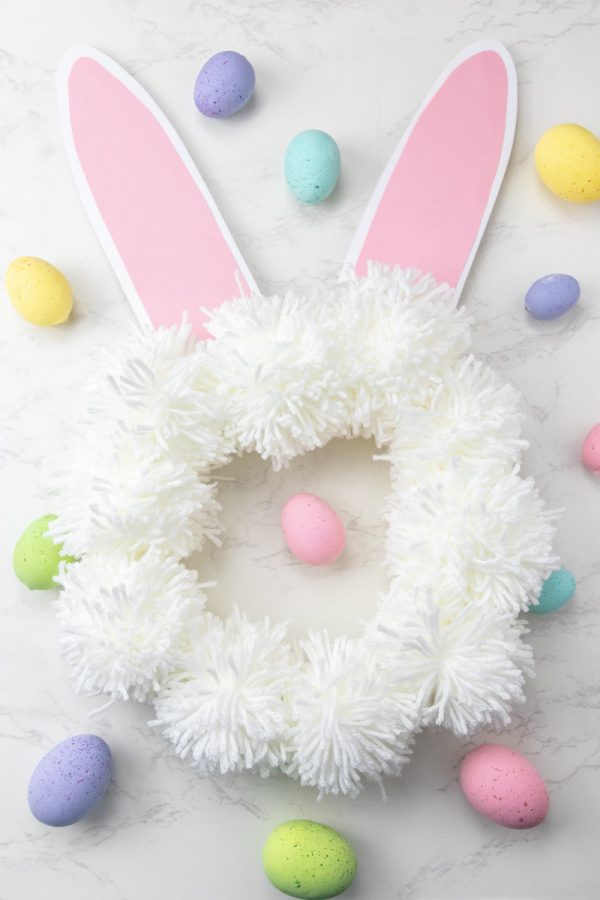
This Pom Easter Bunny Wreath is one that you will want to make and decorate your front door for Easter! Or if you love to DIY make a second one as a gift to a loved one. Fluffy, cute, and such a fun DIY Easter wreath that will make everyone feel “hoppy” when they see it.
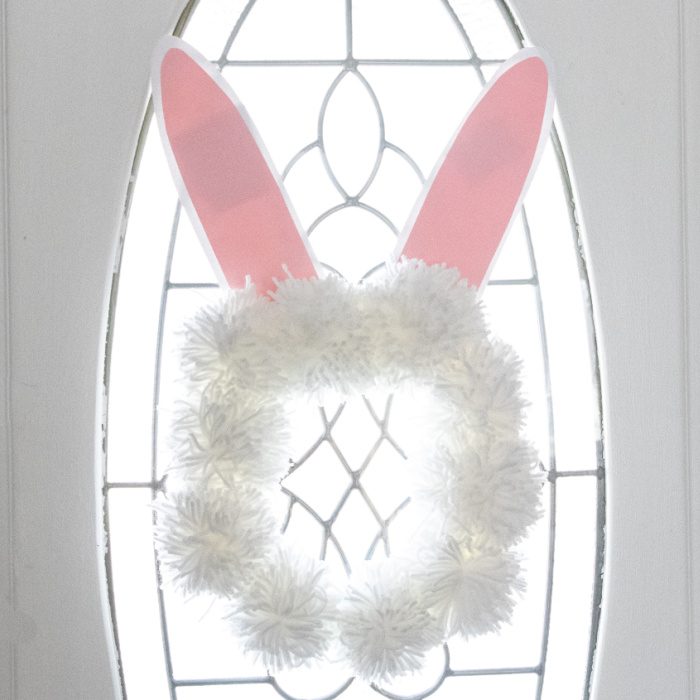
I love how simple this easy bunny wreath is. Plus if you are lucky your local Dollar Tree might have all the items needed, so it makes it a super inexpensive wreath.
Why Make This Pom Easter Bunny Wreath
- Easy To Make
- Simple Crafting Supplies Needed
- Cute
- Festive and Fun
What Do I Need To Make This Bunny Wreath
- Scissors
- Paper Plate
- Hot Glue and Glue Sticks
- Pink and White Cardstock
- White Yarn
- Bunny Ears Printable Template
How to Make This Bunny Wreath
Here is a visual walk-through on how to make this bunny wreath. The full directions with a print option are featured below.
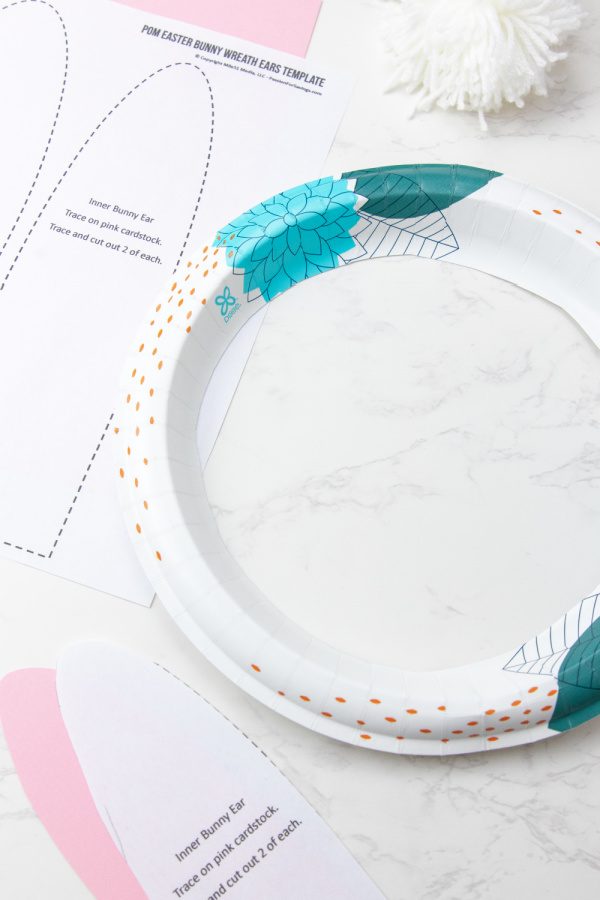
Step One: Cut a hole in the paper plate to create a base for the wreath.
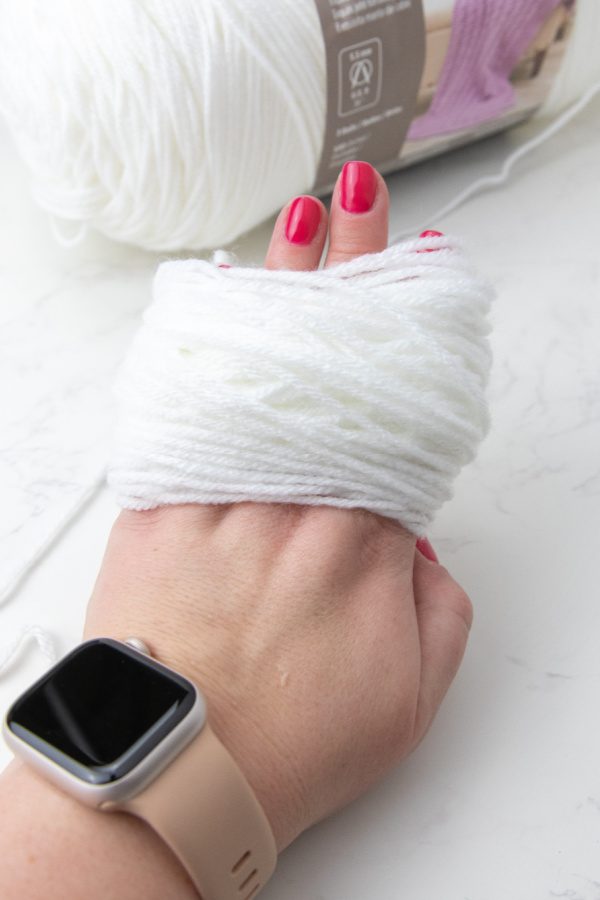
Step Two: Next you will make 10 poms. To make them you will wrap yarn around your four fingers 100 times. Then tie on a string to help secure your wrapping.
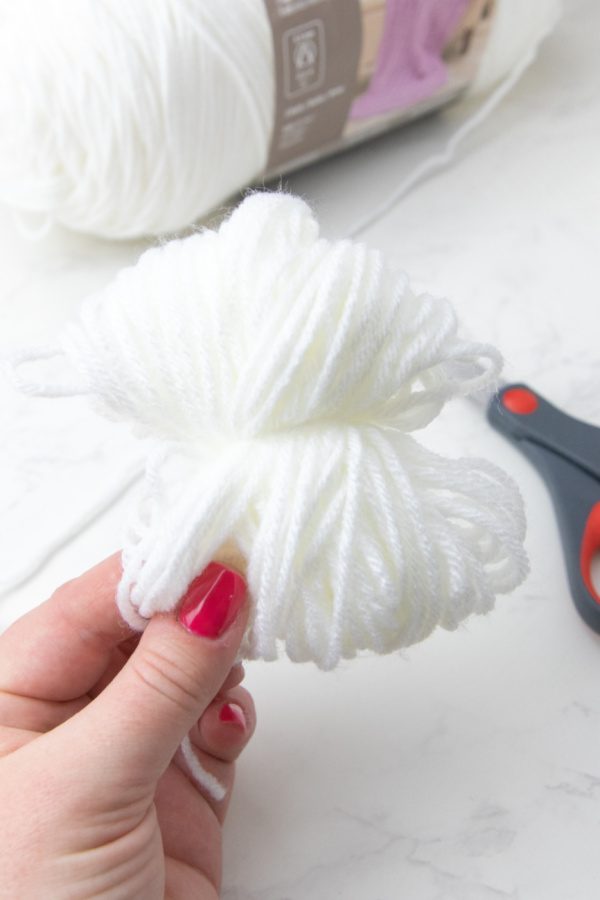
Step Three: Once secured and removed from your fingers, carefully cut through the yarn, and trim as needed to create the pom look.
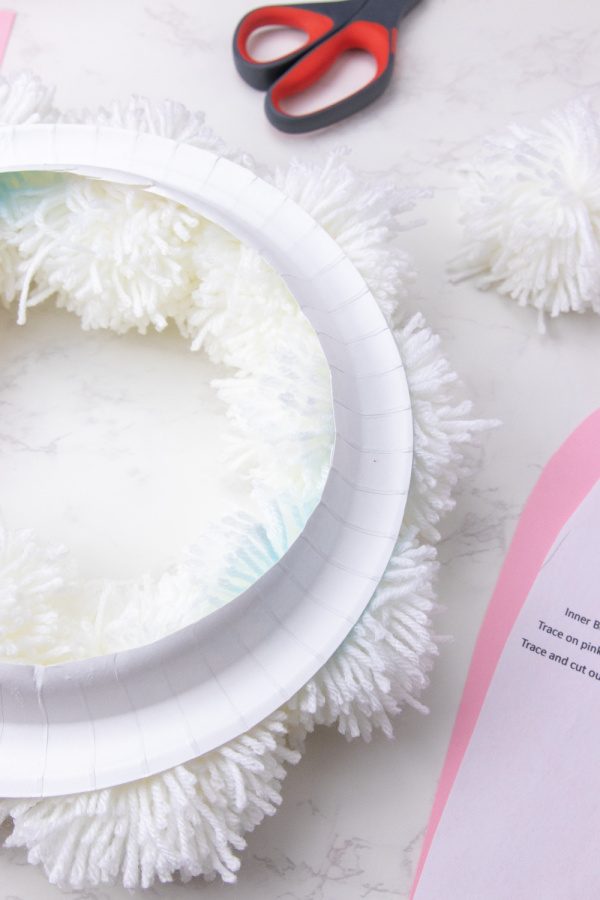
Step Four: After you have made all 10 poms, you will hot glue them around the edge of the paper plate to mimic the bunny fur.
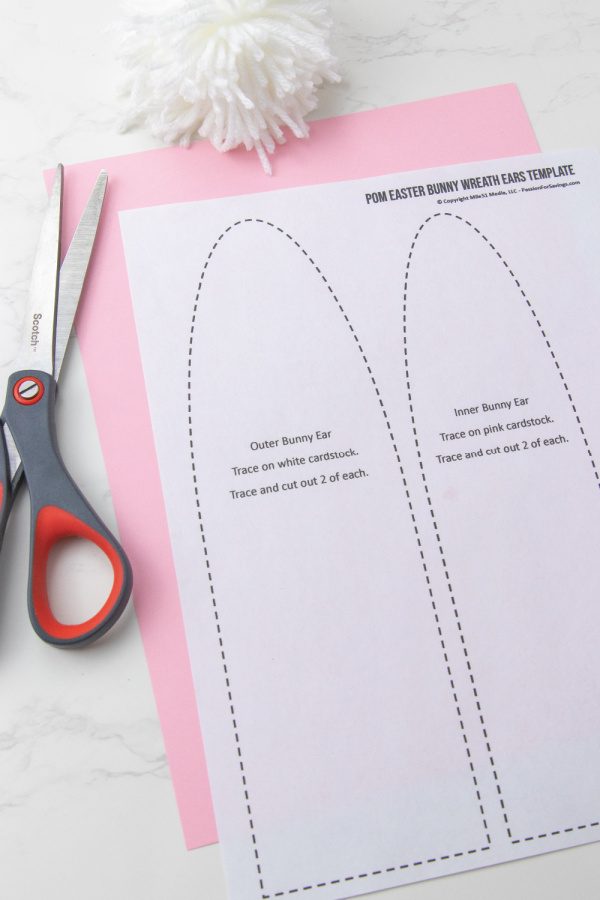
Step Five: Next you will download the printable bunny ear template, and print it off. You are going to make two white and two pink ears.
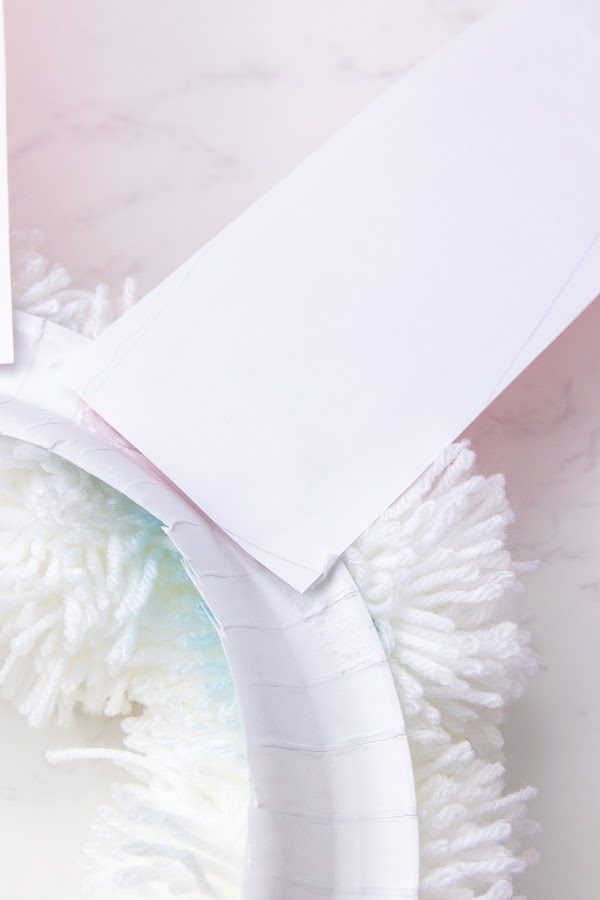 Step Six: Glue the ears onto the bunny. The pink goes in front of the white portion of the bunny ears.
 What Size Of Paper Plate To Use?
You can use an 8-10 inch size plate. I know that depending on what your store has you might be limited. Depending on the size you might use less or more poms depending on how large they turn out.
Just know with this DIY wreath the amount of poms does vary a little bit.
Can I Use A Different Color Of Yarn?
Feel free to use any color of yarn you want. I loved the idea of white, but even a light pink or even blue could look super cute. Have fun and be creative!
 Ways To Decorate With This Bunny Wreath
- Hang on front door to greet guests
- Showcase on a wall in your home
- Place on your mantle or shelf or small side table in home
- Gift to a friend or loved one
- Etc.
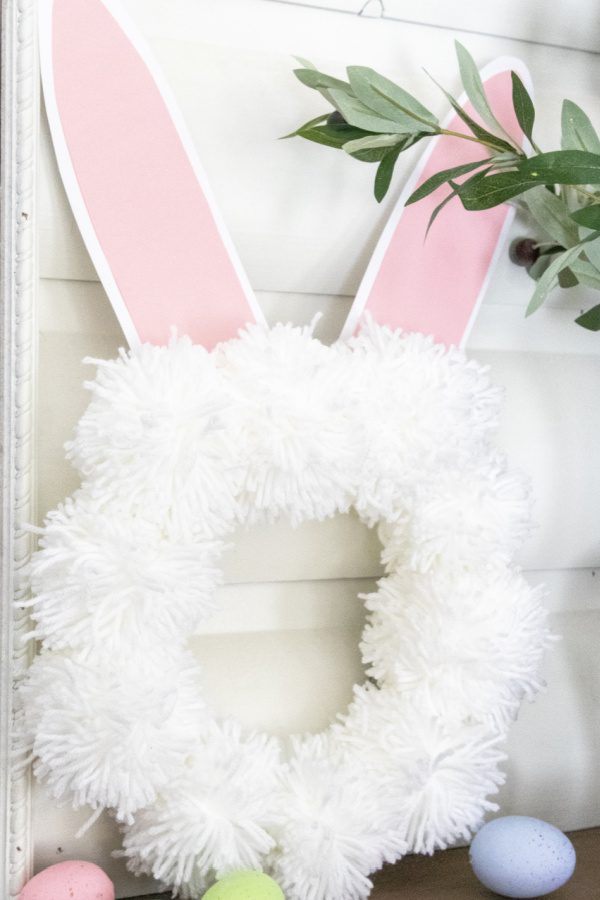
There are so many ways to make this bunny craft stand out. I love hanging to greet guests as they arrive or placing on a mantle with other Easter items to bring more dimension to the area.
Want More Easy Easter Ideas

Pom Easter Bunny Wreath
Pom Easter Bunny Wreath is made with a paper plate and yarn. A super simple and affordable DIY Easter wreath. Learn how to make this pom Easter bunny wreath today.
Materials
- Paper Plate
- 1 piece of pink cardstock
- 1 piece of white cardstock
- Skein of White Yarn (any thickness/weight)
- Passion for Savings Bunny Ears Printable Template
Tools
- Scissors
- Hot Glue Gun
Instructions
- Cut a hole in the paper plate to create the base for the wreath craft.
- Create 10 poms out of the white yarn.
- For each pom, wrap the yarn 100 times around four fingers of your hand. Trim the end of the yarn. Gently slide the yarn off your hand.
- Cut another piece of yarn about one foot long.
- Tie the loop of wrapped yarn in half tightly with a knot. So, it'll look a bit like a bow tie, with 100 loops of yarn on each side of the tied center.
- Cut through the loops and neatly trim the yarn into a pom shape.
- After you have all 10, hot glue each one onto the front of the paper plate. One row of poms will cover up the paper plate entirely. Next, print and cut out the bunny ears template.
- Trace the outer ear twice onto white cardstock.
- Trace the inner ear twice onto pink cardstock.
- You should have four ear shapes total, including the inner and outer bunny ear.
- Hot glue each inner ear onto each outer ear. Flip the wreath over and glue the ears onto the back of the paper plate.


 What Size Of Paper Plate To Use?
  Ways To Decorate With This Bunny Wreath